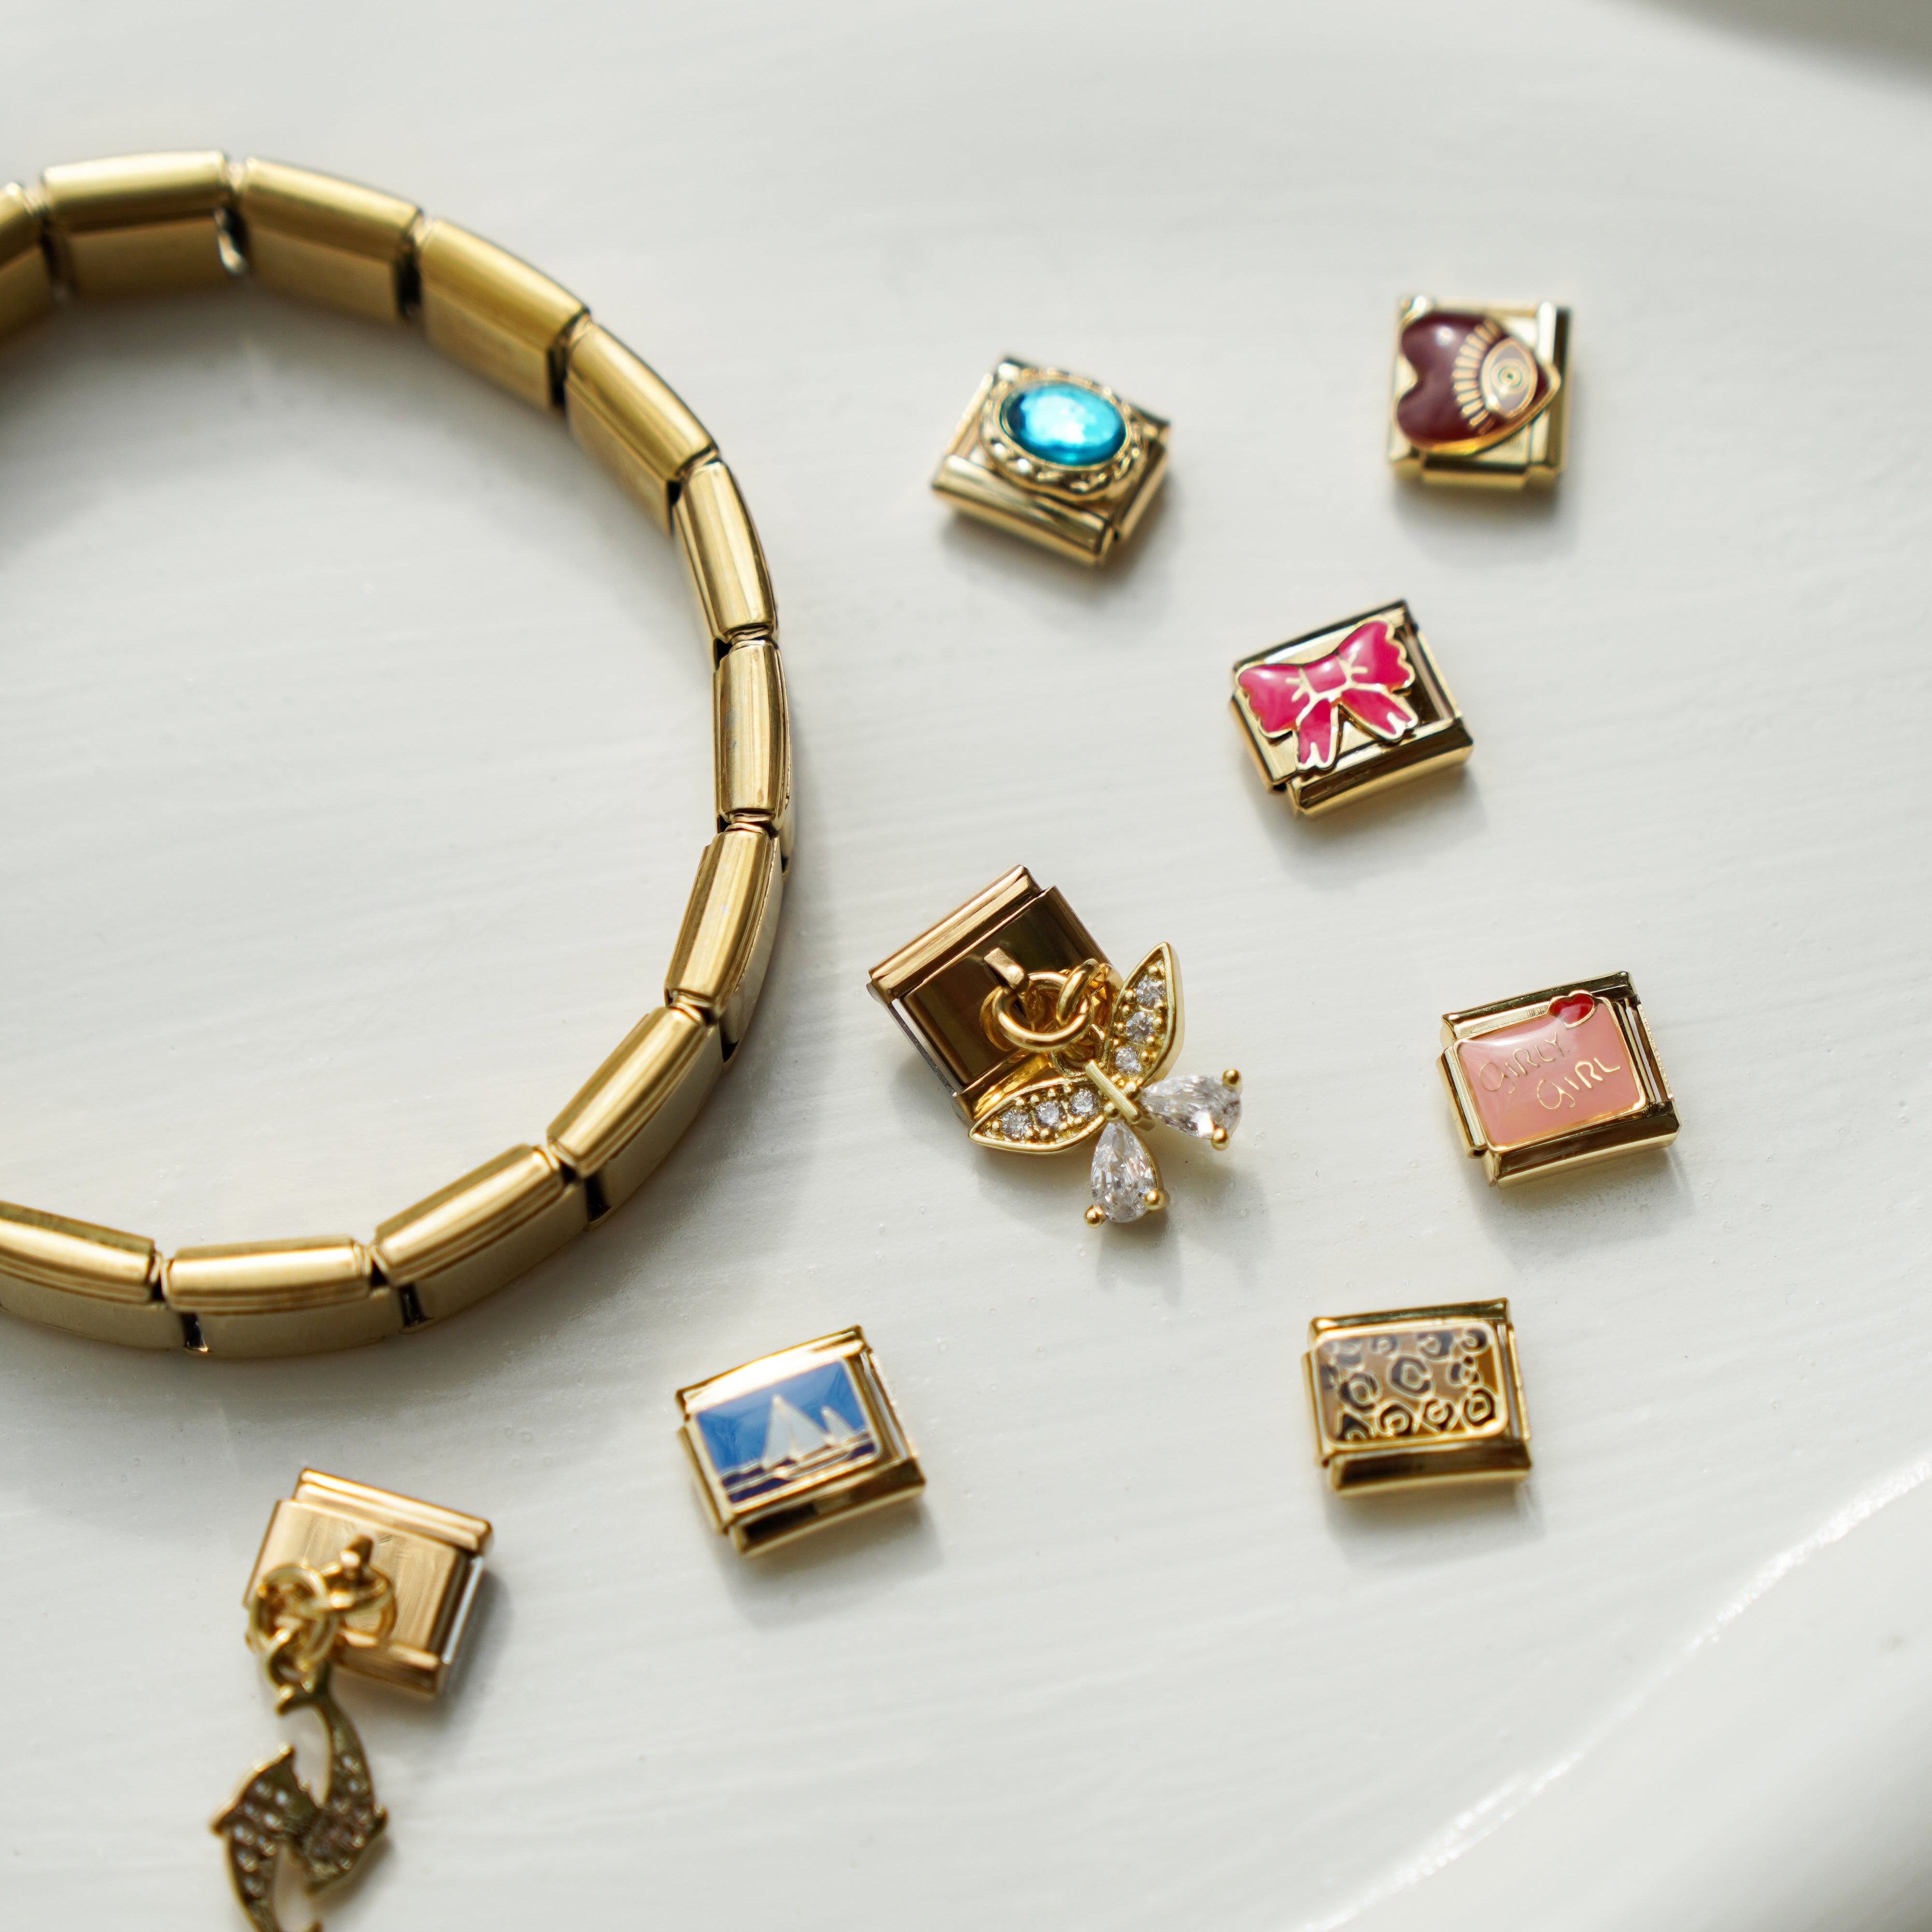
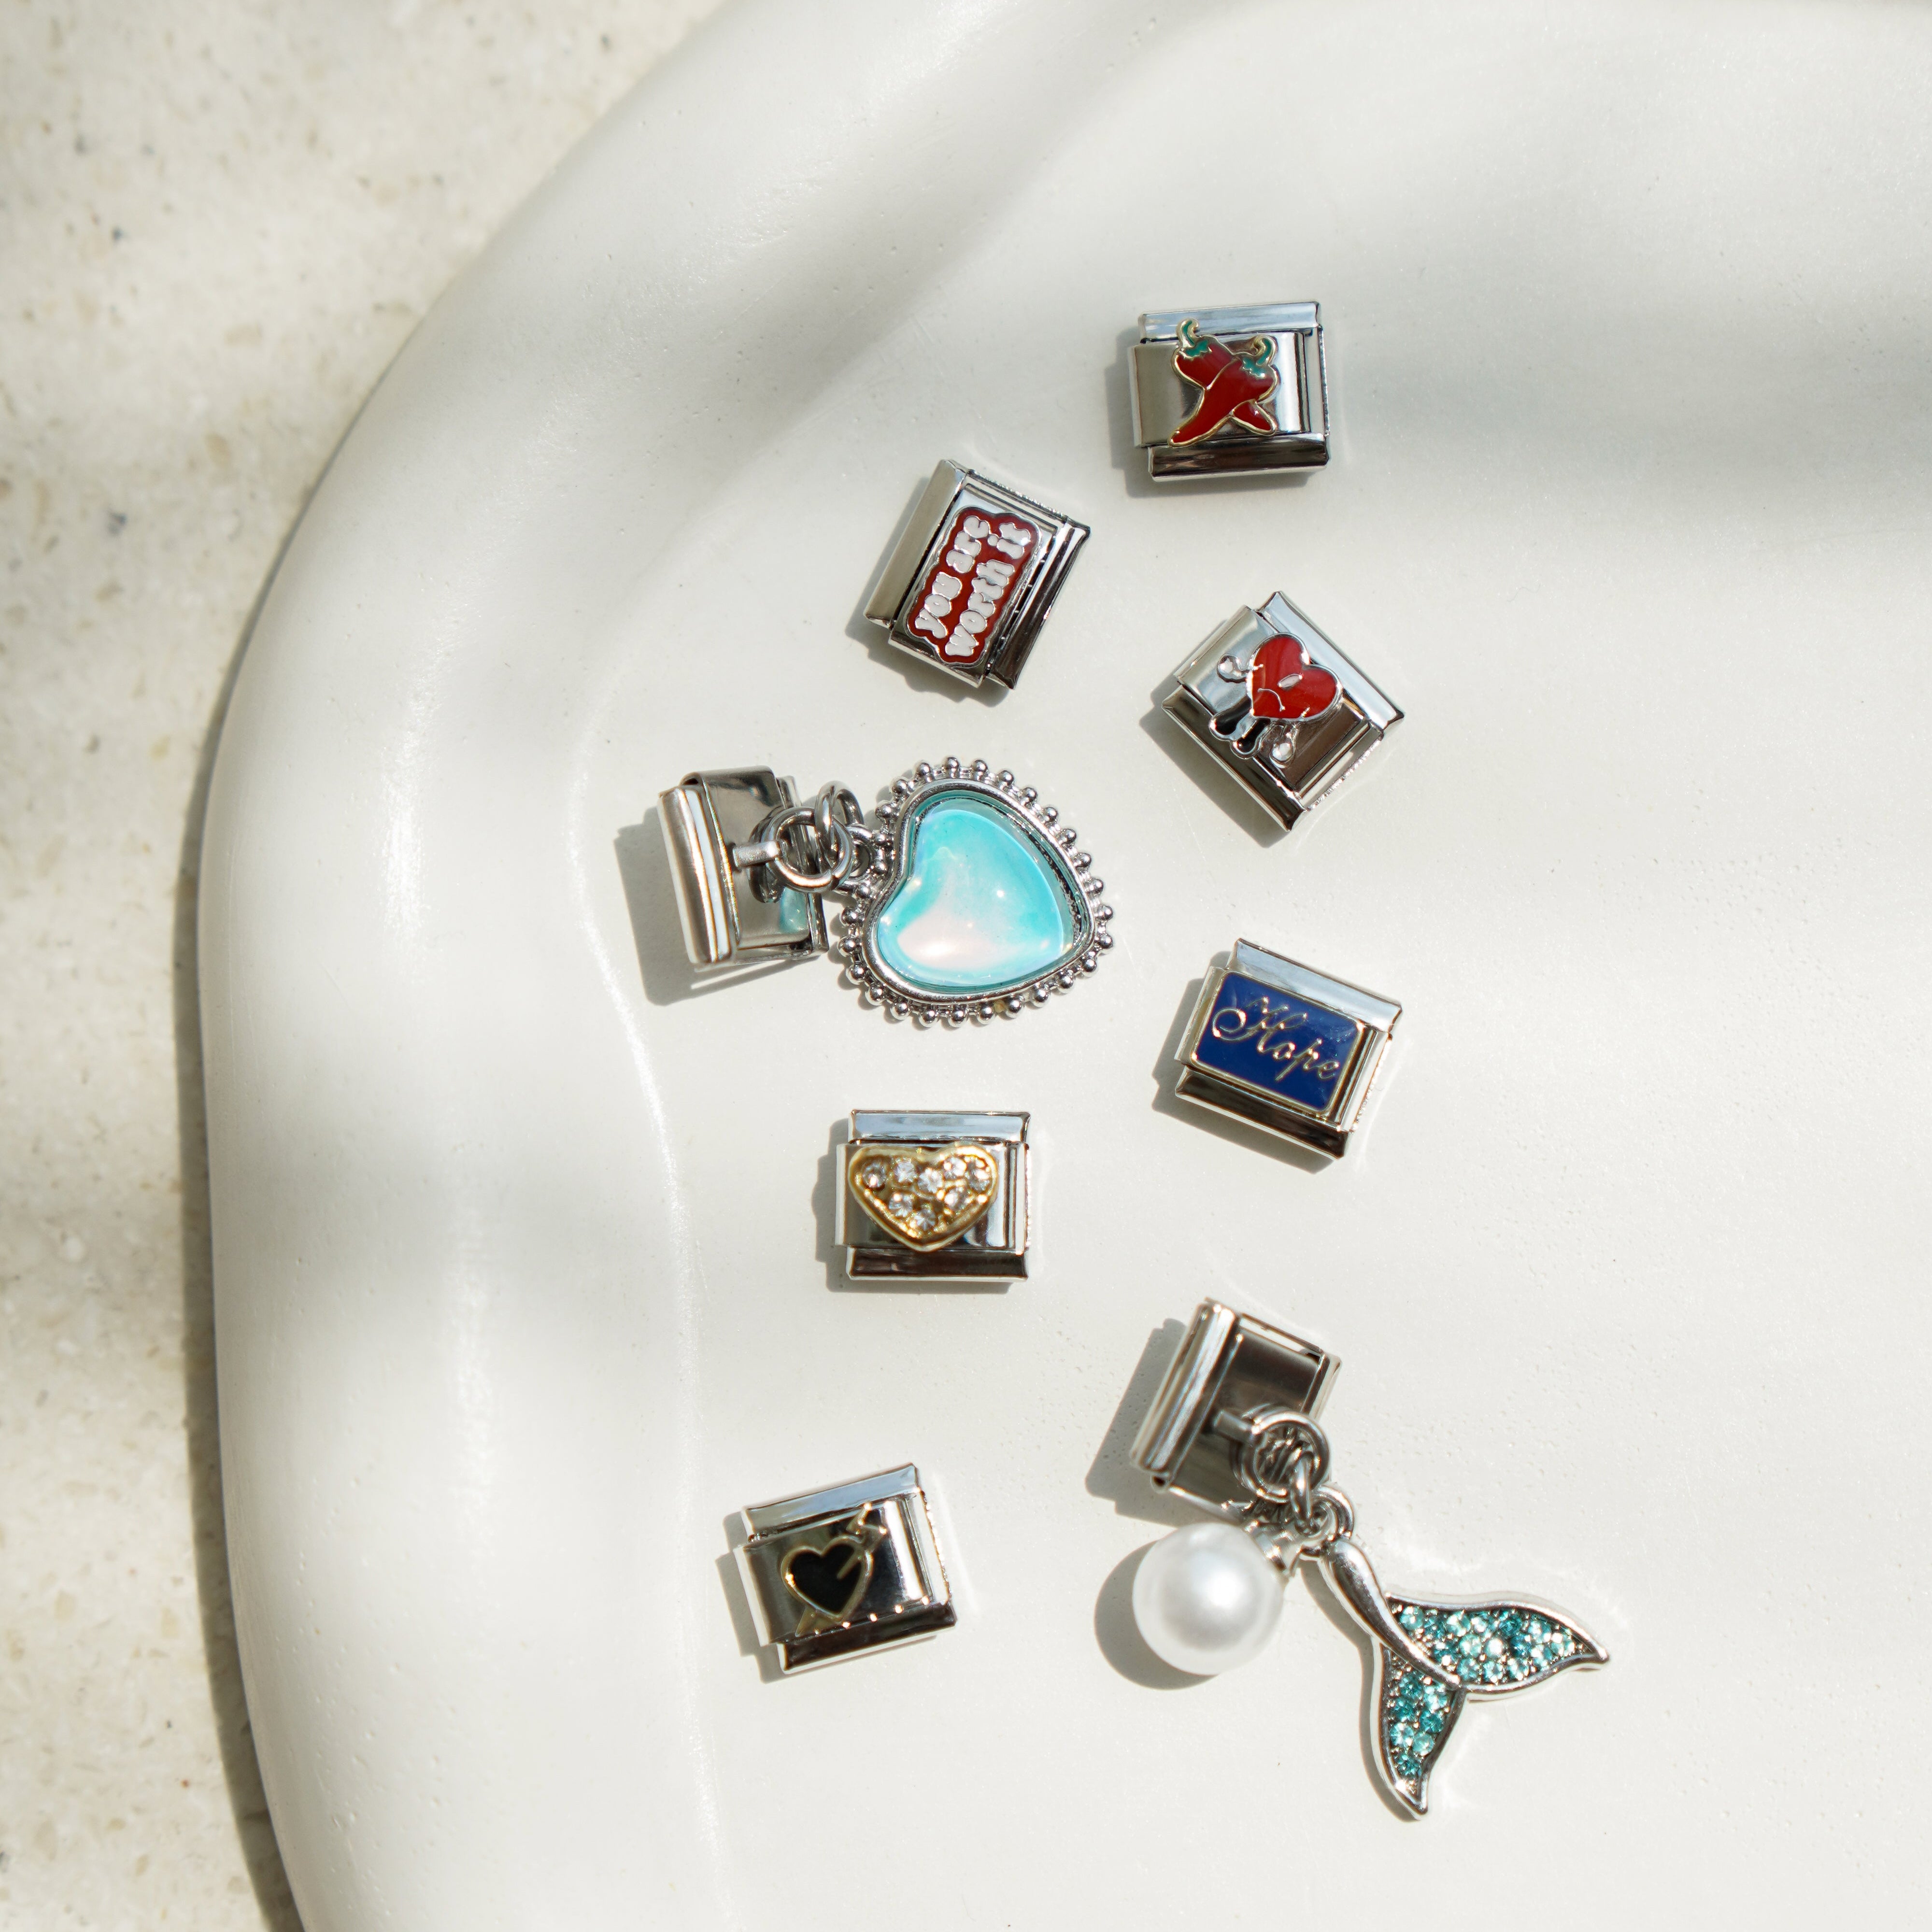
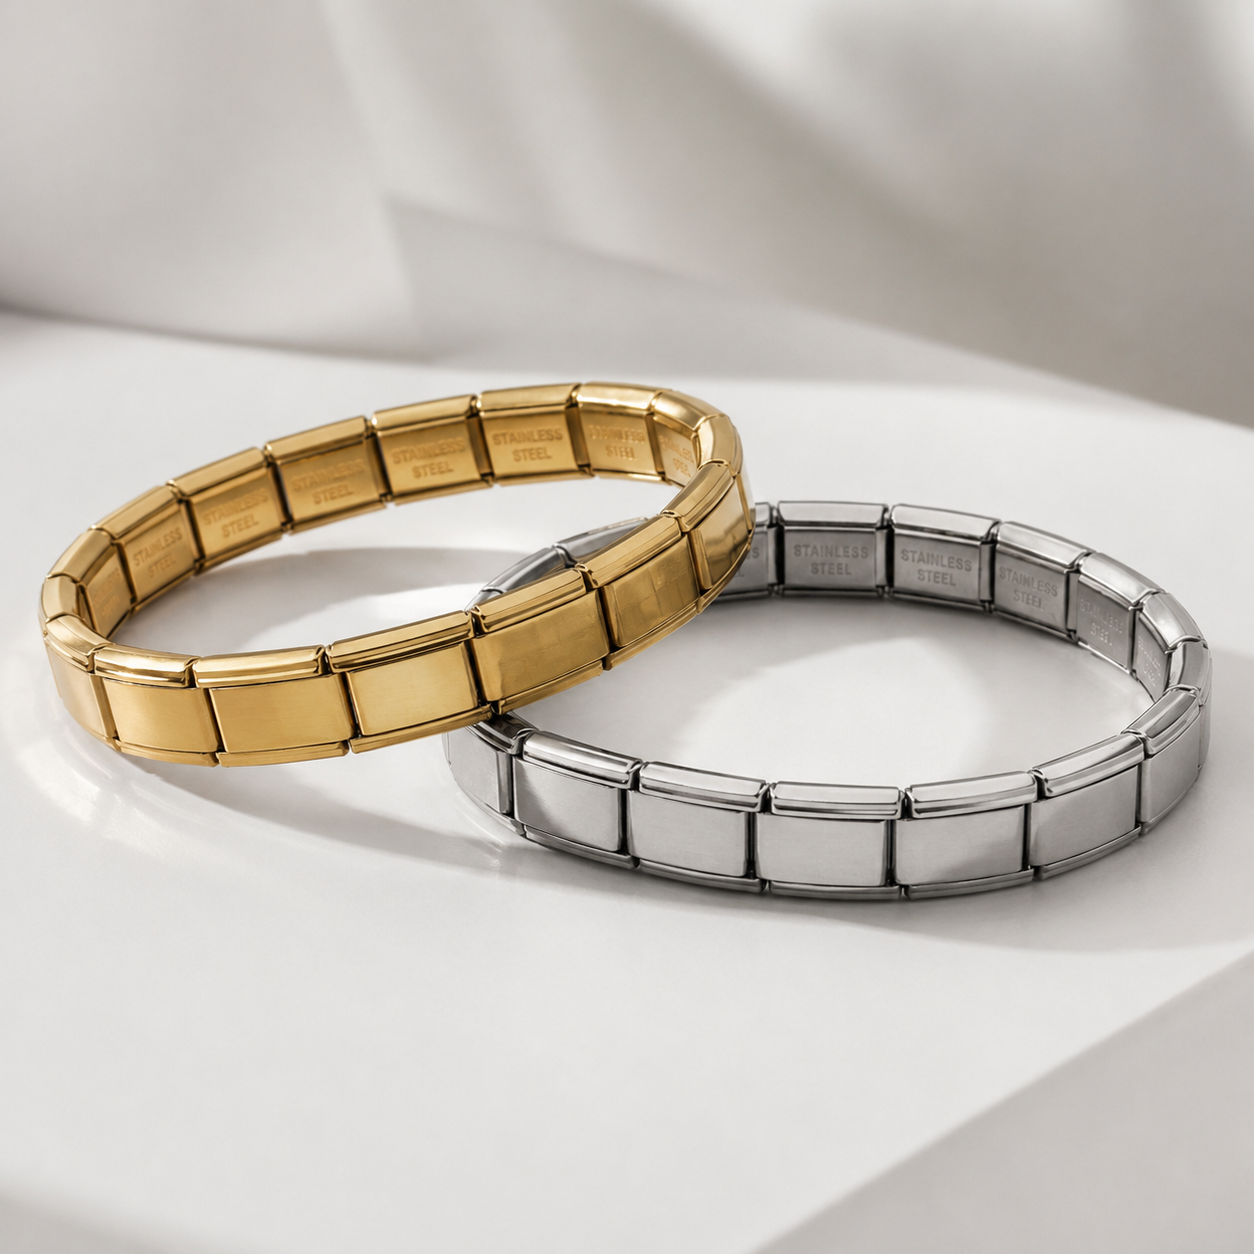
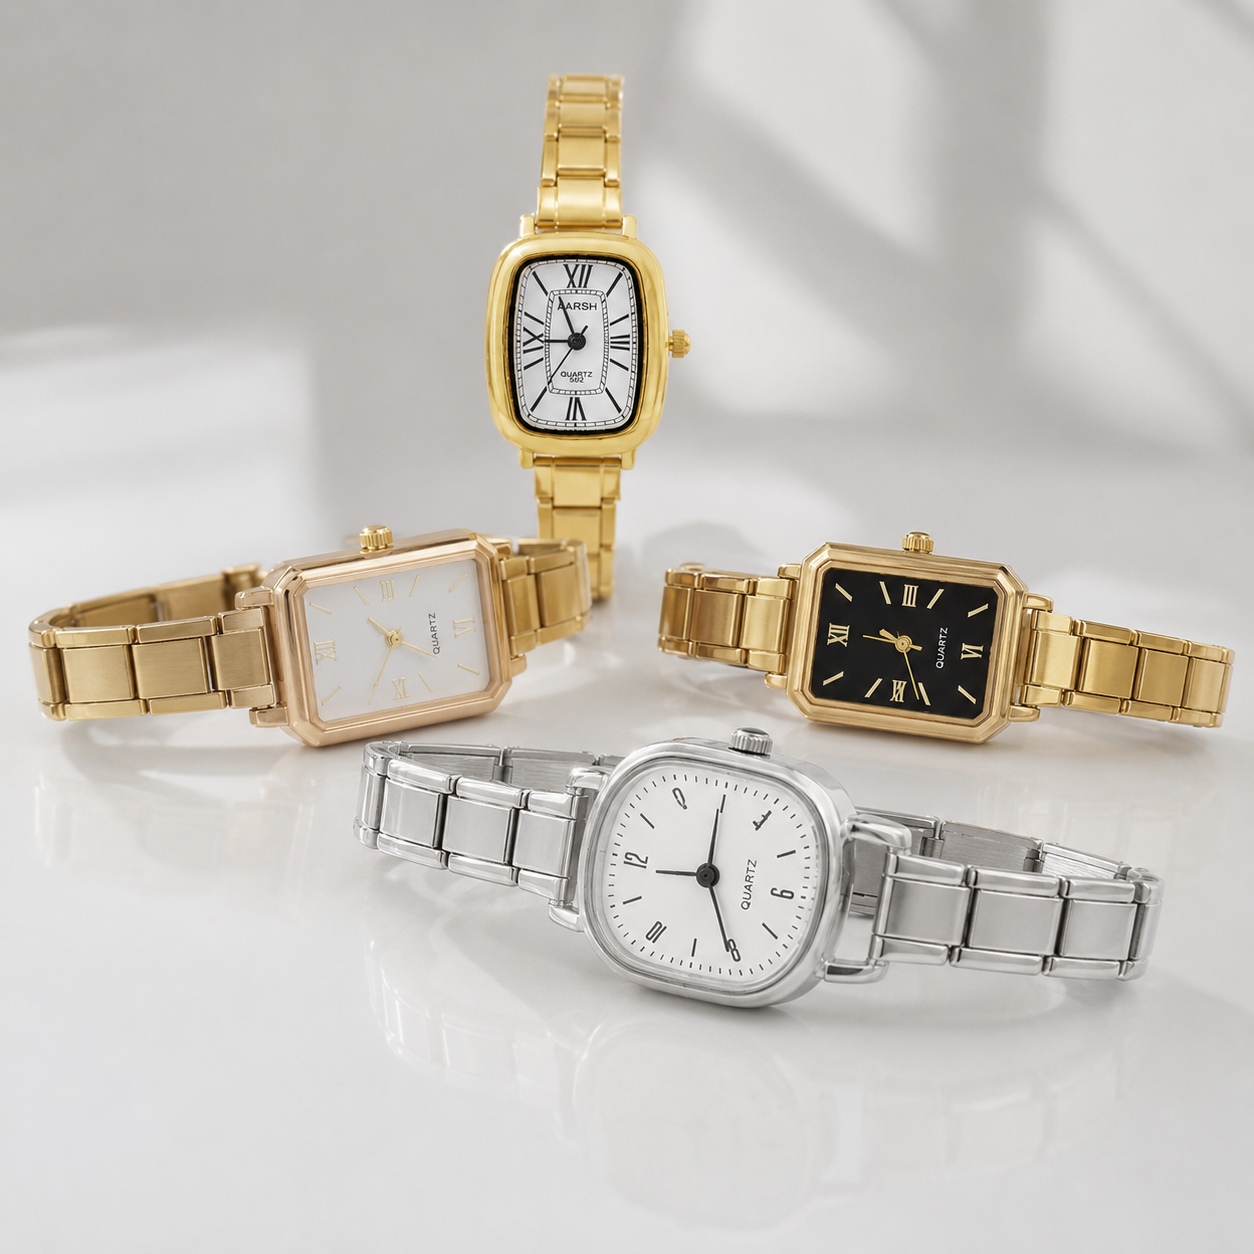
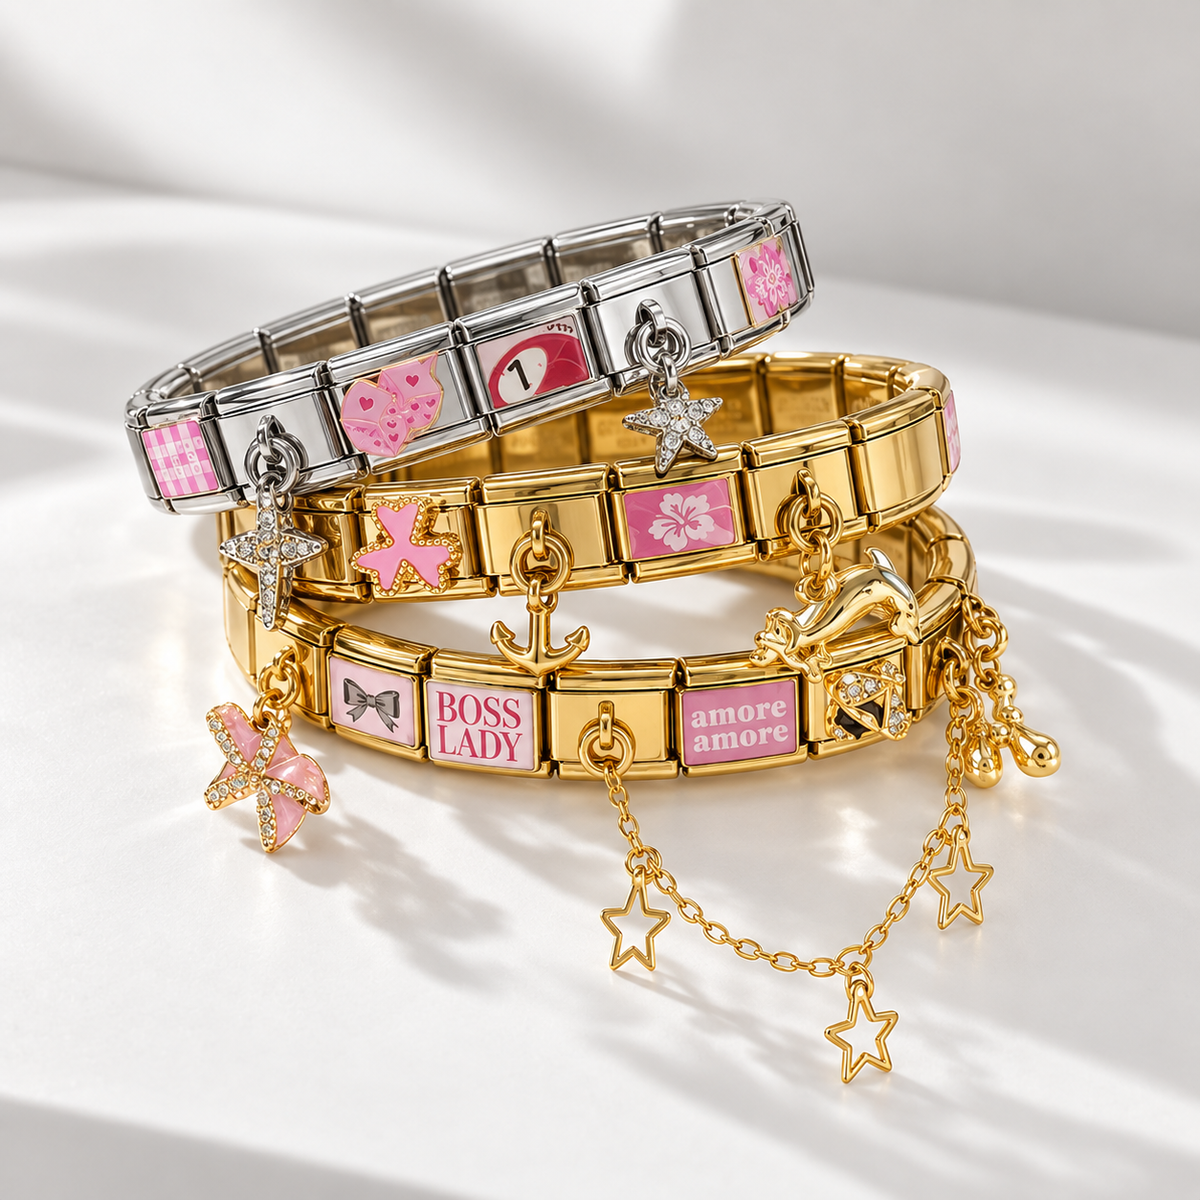


Just received your Italian Charms and don't know where to start? Or is your Italian bracelet a little too big? This guide covers everything: the exact motion for clipping on a charm, how to adjust the size, how to clean it, and what to do if it ever comes loose.
How to add a charm to an Italian bracelet 🔧
First of all, here's the thing to understand - and this is where everyone gets it wrong the first time:
The charm does NOT go in from above. It slides in from the side.
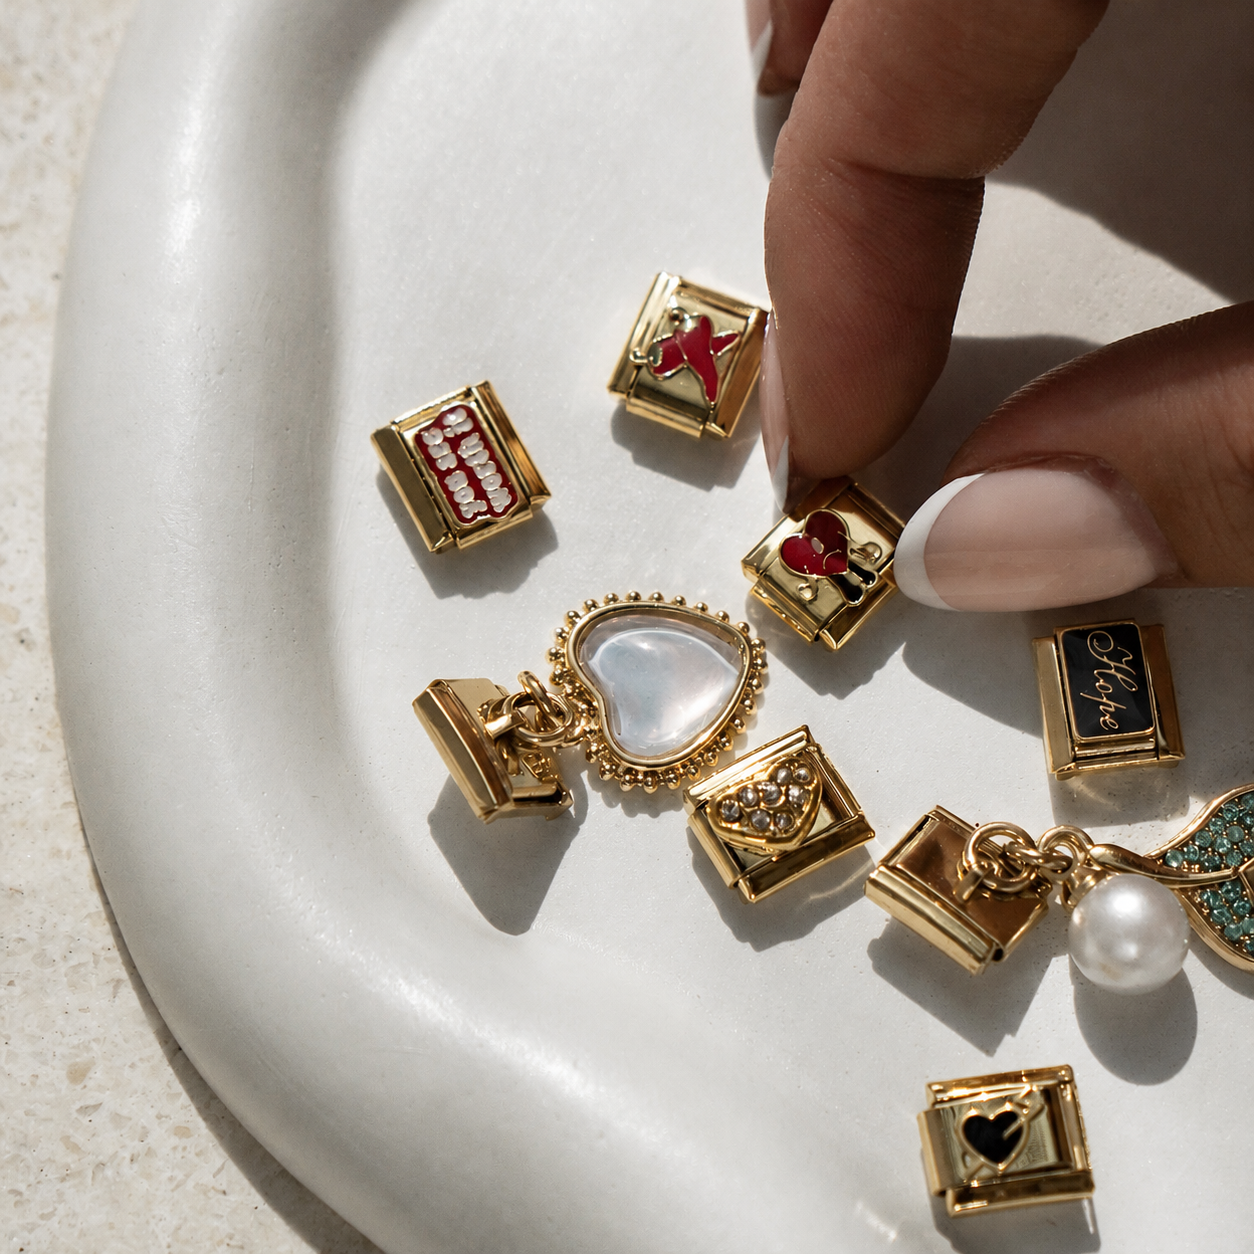
If you press down on it vertically, you can force it for an hour and it still will never go in. On the back of each charm are two small grooves containing a tiny spring. So the charm slides laterally, like a drawer.
The 5 steps, in order
- Lay your bracelet flat on a table, with the face against the table. You should see the backs of the charms.
- Identify the plain charm you want to replace.
- Spread the two charms next to it apart slightly. A few millimeters are enough, just to create some play.
- Slide the charm sideways. It will come out on its own if there's enough play.
- Slide your new charm into place, along the same axis, until it clicks.
Lay the bracelet flat and check that everything is properly aligned. That's it, you're done. 🎉
The 3 mistakes to avoid ❌
- Never pull the bracelet lengthwise to make room. That's how you damage the spring. Just spread two neighboring charms apart; that's more than enough.
- Don't press from above. We repeat this because it's really the number one mistake.
- Don't use metal pliers on the charm's face, or you'll scratch the gold plating.
Seriously, get the tool 🙏
The charm tool costs €1.99 and does exactly one thing: it spreads them apart neatly so you have both hands free.
What takes you a minute and a half by hand takes five seconds with it. If you plan to change your arrangement regularly - and that's kind of the whole point - it's the best euro you'll spend on this site.
How to remove an Italian charm without breaking anything
Exactly the same motion, in reverse: move the charms next to it apart, then slide it sideways.
The only case that gets a little stuck is a new, slightly tight charm. It happens, that's normal; they don't all come out exactly identical from the factory. In that case:
- Make sure you're applying force to the side, not upward. That's what causes it 9 times out of 10.
- Use the tool instead of your fingernails; you'll have much more leverage.
- Make small back-and-forth movements rather than one big push.
- If it really gets stuck, slide the blade of a butter knife underneath to get it started. Definitely not a screwdriver or a thin blade, or you'll mark the metal.
Which Italian Charm bracelet size should you choose 📏
Measure your wrist
Take a measuring tape - or a strip of paper that you can measure afterward - and wrap it around your wrist without tightening. Add 1 to 1.5 cm for comfort. That's your size.
How many charms does that make?
Each charm is approximately 9 mm, so:
| Your wrist circumference | Number of charms |
|---|---|
| 14 - 15 cm | 16 to 17 charms |
| 15 - 16,5 cm | 17 to 18 charms |
| 16,5 - 18 cm | 18 to 19 charms |
| 18 - 19,5 cm | 19 to 21 charms |
Is your bracelet too large?
Simply remove a plain charm, just as you would remove any other charm. The spring tightens again on its own.
Go one charm at a time and try it again after each one. We always underestimate the effect of removing just one charm.
Is your bracelet too small?
Add charms. That's what's so great: making your bracelet larger and making it prettier are exactly the same process. 😌
⚠️ There is one small limitation: don't add more than 2 or 3 charms beyond the original length. Beyond that, the spring is too tense, the bracelet loses its elasticity and wears out faster. If you need it much longer, choose a larger base directly.
“My bracelet broke, do I have to buy everything again?”
No. Never. 🙂
It rarely happens, usually after several years or after stretching it lengthwise. But the good news is that your charms are intact - it's just the spring that gave out.
You buy another base for €19.90, transfer all your charms onto it, and you're good to go. You never have to buy your collection again. That's the whole point.
Are all Italian charms compatible?
The rule is simple: it's the width that matters, and it's 9 mm.
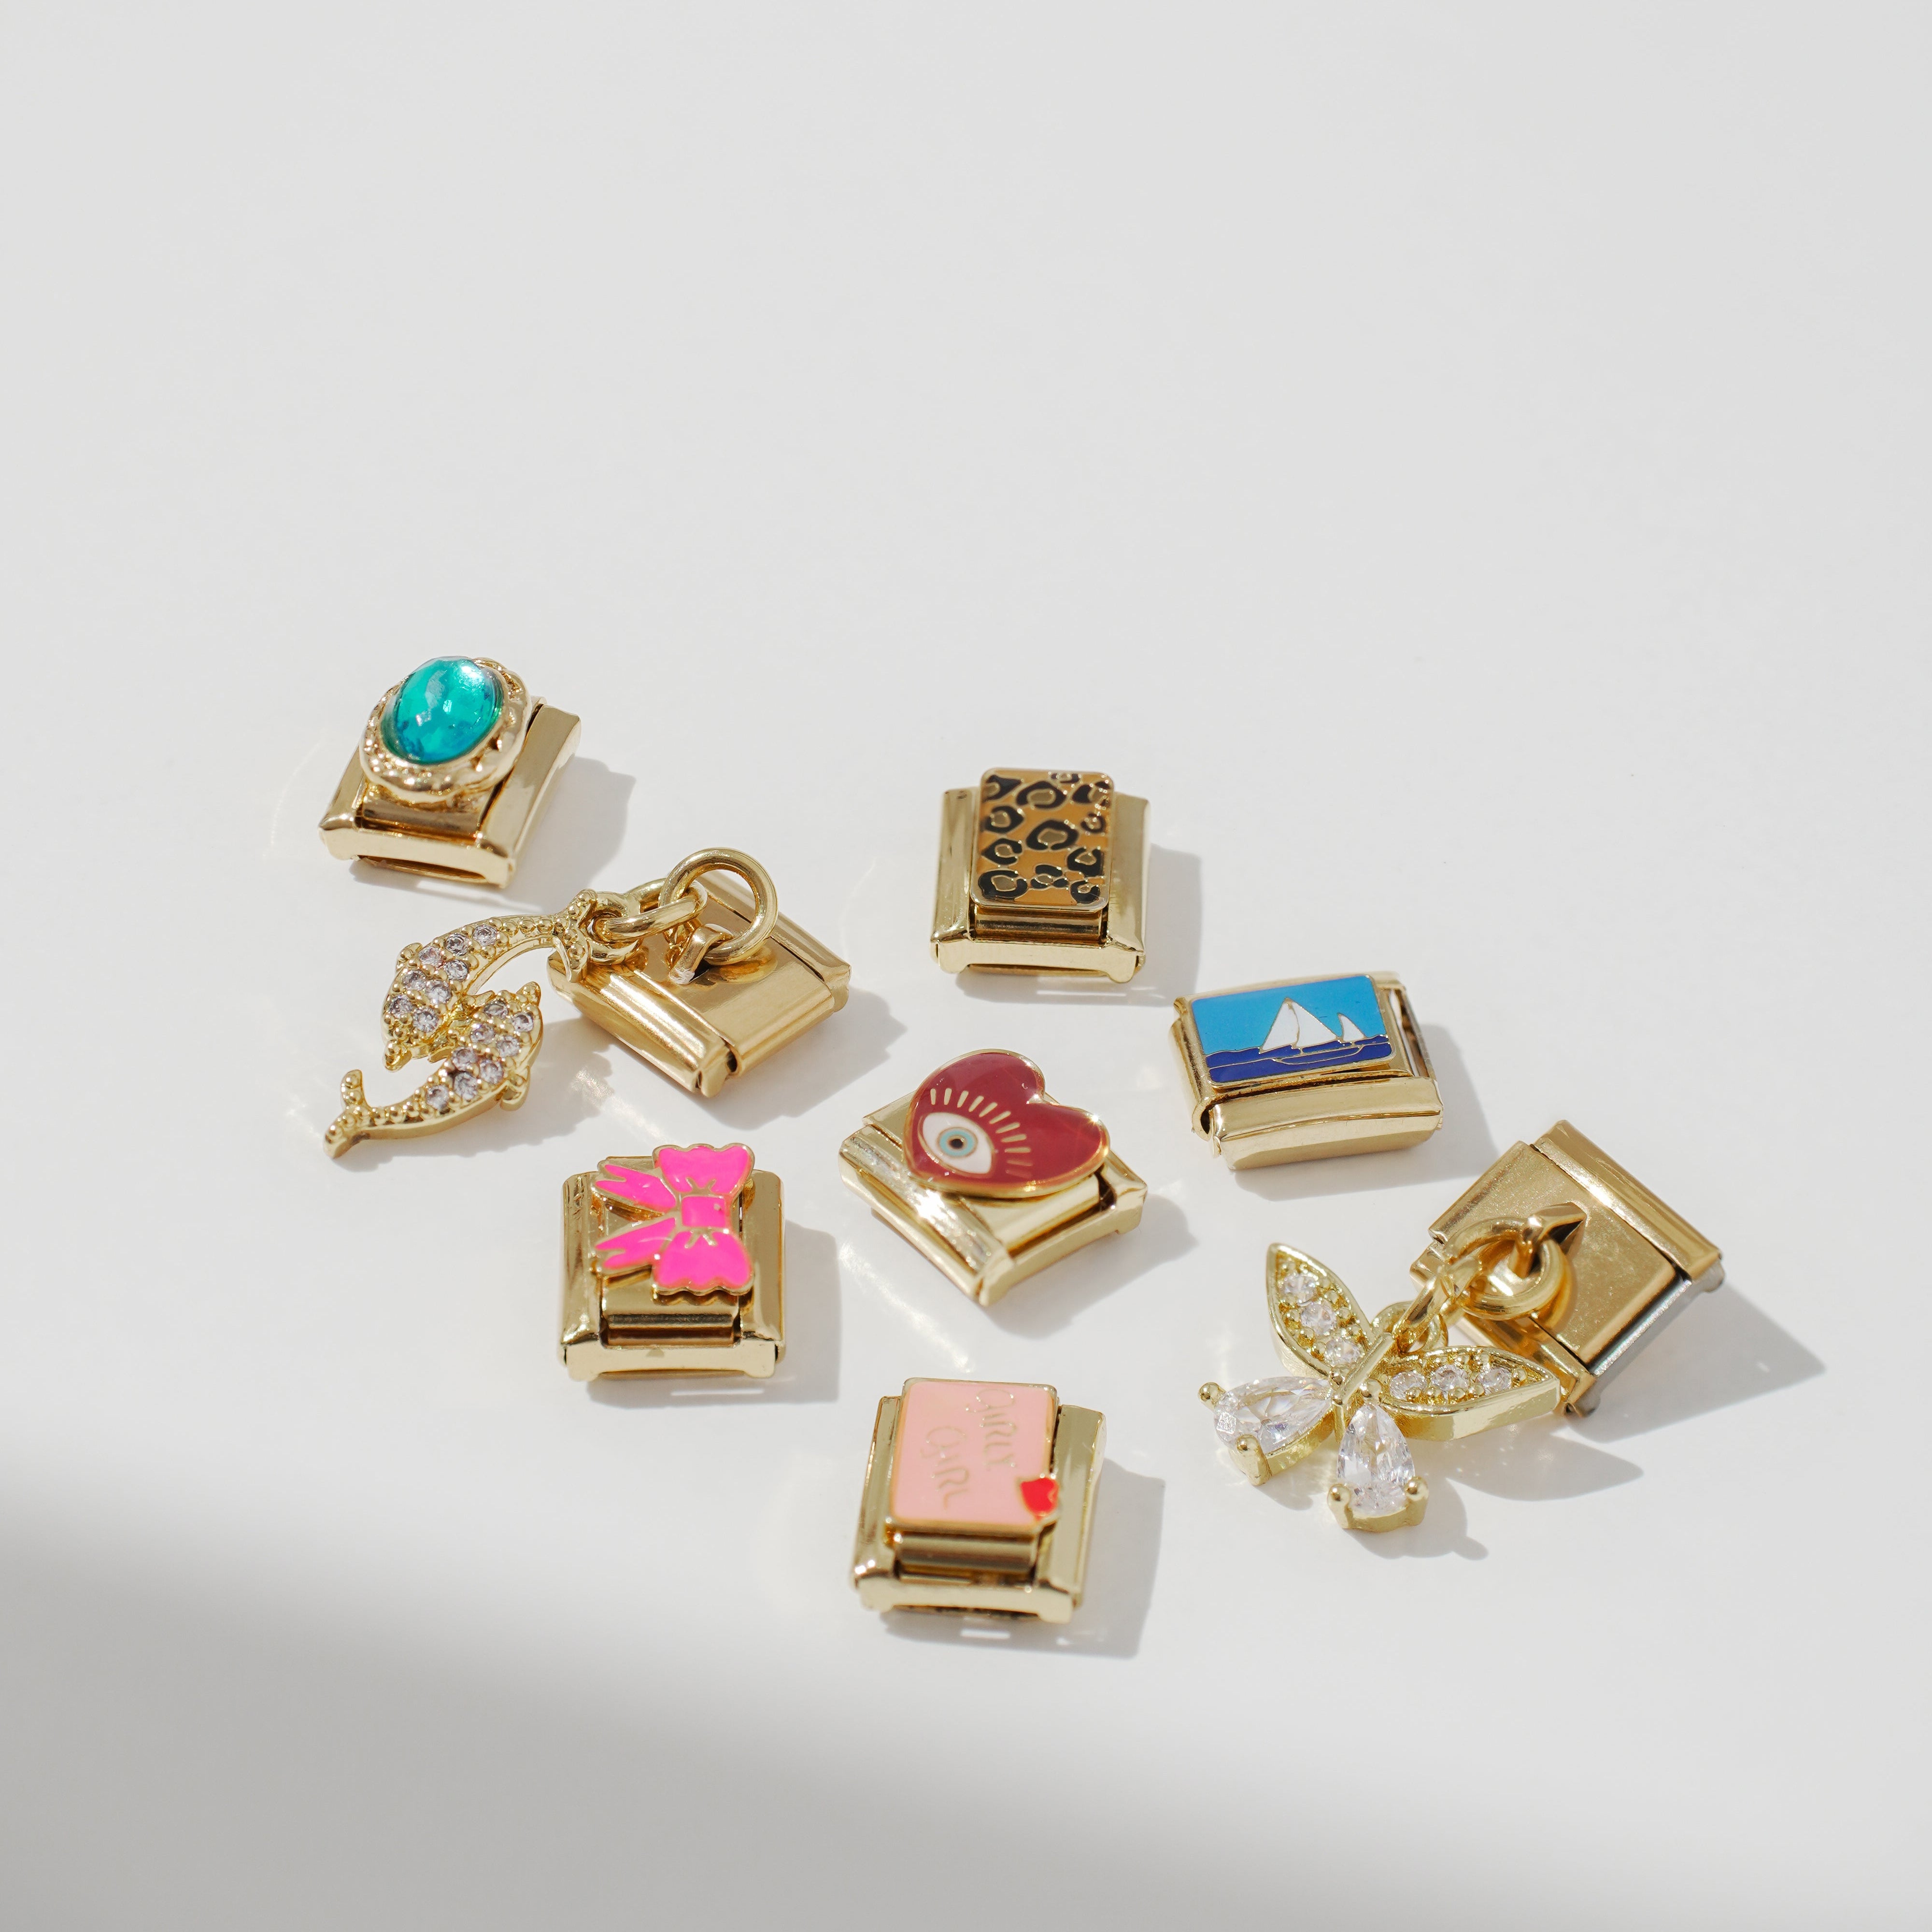
- Single charm: 9 mm. This is the universal size, used by the vast majority of charms.
- Double charm: 18 mm. It takes the place of two single charms. Perfect for phrases and large designs. View our double charms.
If you have an old charm and aren't sure, measure it with a ruler. At 9 mm, it will work. Just check that the back isn't bent - a deformed charm won't slide properly.
What doesn't work: Pandora-style threaded beads. Mechanically, they're completely different. We explain why here.
How to care for your Italian Charms bracelet ✨
Daily care
Stainless steel does not rust or tarnish. What damages a bracelet isn't water or time - it's products:
- Perfume and hairspray → put your bracelet on after applying perfume, never before.
- Pool chlorine → it's the worst for gold plating. Remove it if you can.
- Seawater → not a big deal, but rinse with clean water when you get out and dry it.
- Sunscreen and shower gel → they leave a film that dulls the shine. Rinse from time to time.
- Household cleaning products → avoid them completely; they cause the most damage.
Cleaning (about once a month)
- Lukewarm water + a drop of mild soap (neutral dish soap, Marseille soap).
- Gently scrub with a soft-bristled toothbrush, especially between the charms - that's where dust accumulates.
- Rinse with clean water.
- Dry it well with a soft cloth, paying particular attention between the charms. Trapped moisture is the only real enemy.
What never to do ❌
- No silver cleaner - too harsh for gold plating and enamel.
- No baking soda or vinegar - too abrasive or too acidic.
- No ultrasonic cleaner - the vibrations weaken the spring.
- No abrasive polishing cloth - you would remove the gold plating.
Storage
Flat and dry. A small fabric pouch is all you need. Avoid the bathroom: constant moisture eventually marks the finishes.
Bonus: create a charm bracelet that looks great 💅
A few principles that always work:
- Three color families max. Beyond that, it becomes hard to read.
- A larger charm in the middle. A double charm or a pendant, and everything can be arranged around it.
- Let it breathe. Keeping a few plain charms between your designs often looks better than a full bracelet - especially if you're just starting out.
- Approximate symmetry. Distribute your most eye-catching charms on either side of the center without seeking perfection.
- The gold + silver mix is approved. As long as you alternate them regularly instead of creating two blocks.
And if you want to see how it will look before buying, the composition workshop shows you your bracelet as you build it.
Questions we're often asked
How do I remove an Italian charm without breaking it?
Lay your bracelet flat with the front facing the table, gently separate the two adjacent charms, and slide it to the side. Never pull it upward, and never pull the bracelet lengthwise.
My Italian bracelet is too big. What should I do?
Remove one plain charm at a time, then try again. The spring will tighten itself.
Can I sleep with it on?
Yes, it's flat and doesn't catch on anything. It just wears down the gold plating a little faster through rubbing.
Do Italian charms tarnish?
No, stainless steel doesn't tarnish. The gold plating may fade after several years in areas that rub against things - that's normal for all gold-plated jewelry.
Can I shower with it?
Steel holds up very well in water. It's shower gel and shampoo that dull it over time. If you forget, rinse and dry it, and it'll be fine.
My bracelet broke. Will I lose my charms?
No! You just buy another base and transfer your charms onto it.